In November 2025, installing Virtualmin on Debian 12 remains one of the most powerful approaches to managing multiple domains, virtual hosts, and server resources through a single intuitive interface. However, the installation process and post-installation configuration can present several challenges that even experienced server administrators encounter. This comprehensive guide addresses the most current and pressing issues reported by the Virtualmin community, providing tested solutions to DNS resolution failures, Apache configuration conflicts, database connection problems, SSL certificate errors, and firewall misconfigurations that affect modern Debian 12 deployments. Whether you’re migrating from older hosting control panels or setting up a fresh VPS, this guide will help you navigate the complexities of Virtualmin installation with confidence and efficiency.

System Requirements and Pre-Installation Preparation
Before attempting to install Virtualmin on Debian 12, understanding the minimum system requirements is absolutely critical to avoiding installation failures. The official Virtualmin documentation specifies that your server should have at least 2 GB of RAM as the minimum requirement, though 4 GB is strongly recommended for optimal performance, especially if you plan to host multiple domains with databases and email services. The system also requires a minimum of 20 GB of disk space to accommodate the LAMP stack, associated services, and sufficient room for domain backups and databases. Additionally, ensure that your Debian 12 installation is completely fresh and clean, without any prior hosting control panel installations that might conflict with Virtualmin’s services.
Before running the Virtualmin installation script, it’s essential to perform preliminary system updates. Connect to your server via SSH and execute the following command sequence to ensure all existing packages are current:
bashapt update && apt upgrade -y
This step is crucial because outdated package metadata can cause the package manager to enter a broken state, preventing the Virtualmin installer from proceeding. On Debian systems specifically, you may also want to clean the package manager cache to prevent conflicts:
bashapt-get clean && apt-get update
Optionally, you should also set your system’s hostname to your domain name before installation. This prevents DNS resolution issues that commonly occur post-installation:
bashsudo hostnamectl set-hostname yourdomain.com
Step-by-Step Installation Process
Installing Virtualmin on Debian 12 using the official installation script is straightforward when following the correct procedure. The installation script handles the configuration of Apache, MariaDB, PHP, Postfix, and BIND DNS server automatically. Download the installation script using the following command:
bashcurl -fsSL https://software.virtualmin.com/gpl/scripts/virtualmin-install.sh | sudo sh
Alternatively, if you prefer to download and examine the script before executing it:
bashwget https://software.virtualmin.com/gpl/scripts/install.sh
chmod +x install.sh
sudo ./install.sh
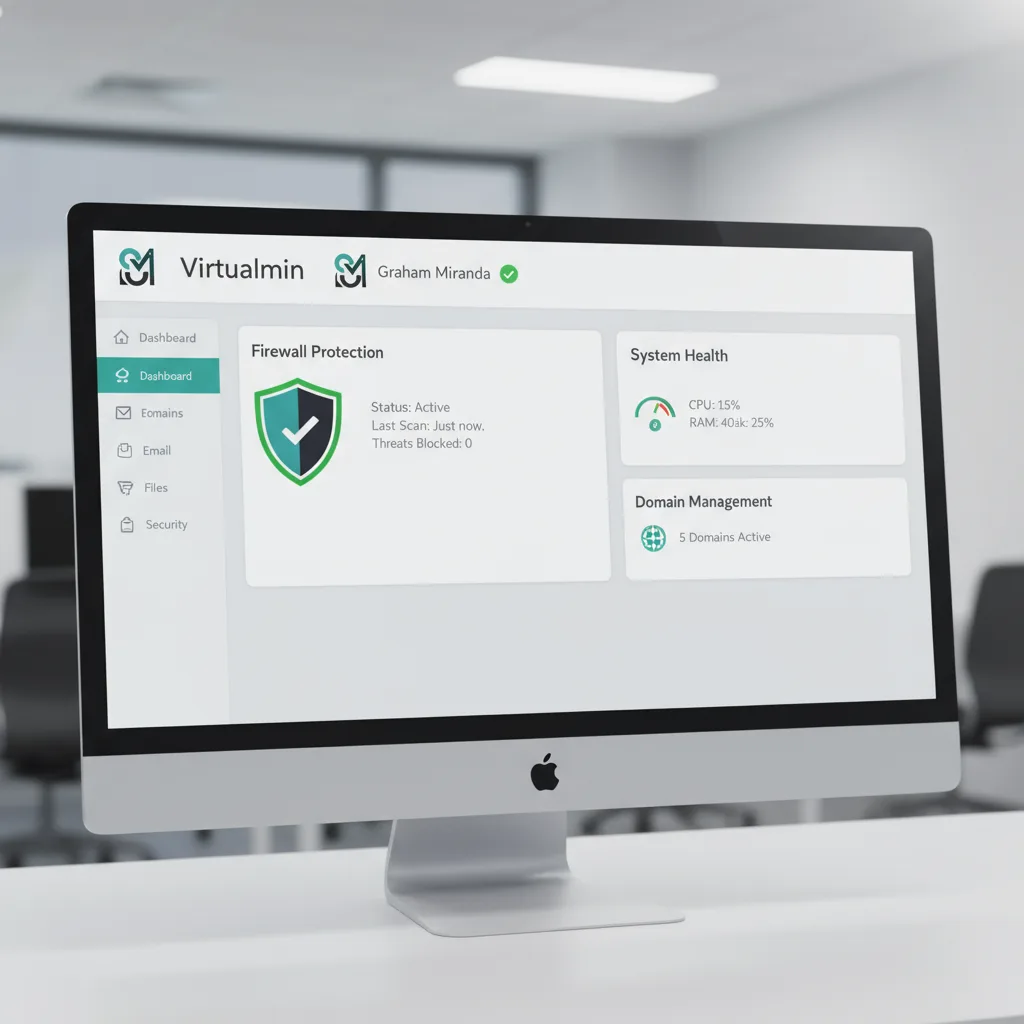
The installation process typically requires 10-30 minutes depending on your server’s performance and internet connection speed. During installation, you’ll be prompted to confirm the LAMP bundle selection and confirm that you want to proceed with the installation. The installer will display a series of configuration checkmarks as it installs PHP, Apache, MariaDB, Postfix, Webmin, Usermin, and other essential components. Once installation completes successfully, you should see a confirmation message with the URL to access your Virtualmin control panel, typically at https://your-ip-address:10000.
Common Virtualmin Errors and Troubleshooting Interface
Critical Post-Installation Errors and Solutions
DNS Resolution and BIND Configuration Issues
One of the most frequently reported errors in November 2025 installations on Debian 12 involves DNS server configuration failures. Users report seeing the warning: “BIND DNS server is installed, however, the default primary DNS server resolves to IP address 127.0.1.1 which does not resolve to an IP address of a network interface on this system.” This error typically indicates that the /etc/hosts file contains an incorrect reference that conflicts with BIND’s configuration.
Solution: Access your server via SSH and edit the /etc/hosts file:
bashsudo nano /etc/hosts
Look for entries like 127.0.1.1 yourhostname and remove any duplicate or conflicting localhost entries. Your file should contain:
text127.0.0.1 localhost
::1 localhost
your-server-ip yourhostname.com
After making these changes, save the file and restart BIND:
bashsudo systemctl restart bind9
Then return to Virtualmin and click System Settings > Re-Check Configuration to verify the DNS configuration is now correct.
Apache Configuration Port Conflicts
Another critical error appearing in recent Debian 12 installations is: “AH00526: Syntax error on line 3 of /etc/apache2/ports.conf: Cannot define multiple Listeners on the same IP:port.” This occurs when the Apache configuration file contains duplicate port declarations.
Solution: Edit the Apache ports configuration file:
bashsudo nano /etc/apache2/ports.conf
Remove any duplicate Listen lines. Your file should contain only:
textListen 80
Listen 443
If your configuration shows multiple entries for port 80 or 443, or entries like Listen <ip>:443 duplicated, remove the extras. Additionally, check for problematic site configuration files:
bashls -la /etc/apache2/sites-enabled/
If you find files named something like 0-.conf, remove them:
bashsudo rm /etc/apache2/sites-enabled/0-*.conf
Then test Apache configuration and restart:
bashsudo apache2ctl configtest
sudo systemctl restart apache2
MariaDB Connection and Socket Errors
Database connection failures represent another common post-installation problem. You might see errors like “DBI connect failed : Plugin ‘unix_socket’ is not loaded” or “Can’t connect to local server through socket ‘/var/lib/mysql/mysql.sock'”.
Solution: These errors often indicate that MariaDB has crashed or failed to initialize properly. First, check the MariaDB status:
bashsudo systemctl status mariadb
If the service is down, attempt to restart it:
bashsudo systemctl restart mariadb
If MariaDB still won’t start, check for corrupted database files:
bashsudo rm /var/lib/mysql/mysql.sock
sudo systemctl restart mariadb
For the Unix socket plugin error specifically, ensure MariaDB is properly installed and verify the configuration:
bashsudo mysql -u root
If you still encounter connection issues, you might need to verify the socket location in your configuration files and ensure MariaDB has proper permissions on the /var/lib/mysql directory.
SSL Certificate Installation Failures During Domain Creation
When creating new domains in Virtualmin on Debian 12, SSL certificate generation frequently fails with messages like “Failed to set up SSL certificate for the hostname” or domain validation errors.
Solution: The primary cause is usually DNS propagation delays or incorrect DNS configuration. Ensure your domain’s DNS records are properly configured at your registrar before creating the domain in Virtualmin. Specifically, both A (IPv4) and AAAA (IPv6) records must point to your server’s IP addresses.
When creating a new domain, consider temporarily disabling automatic SSL certificate validation:
- Go to Virtualmin > Create Virtual Server
- Fill in domain details
- Under SSL Certificate, select Use self-signed certificate instead of Let’s Encrypt
- After domain creation completes successfully, manually request a Let’s Encrypt certificate from Server Configuration > Manage SSL Certificates
Ensure that firewall port access isn’t blocking Let’s Encrypt validation. Ports 80 and 443 must be open to the internet for certificate validation to proceed.
Postfix Mail Server Configuration Issues
Email configuration problems occur when Virtualmin fails to properly initialize Postfix during installation or when modifications are made to mail settings.
Solution: First, verify Postfix is running:
bashsudo systemctl status postfix
sudo postfix check
If Postfix configuration appears corrupted, attempt to reconfigure it:
bashsudo dpkg-reconfigure postfix
When prompted, select “Internet Site” as the mail configuration type. If you’re experiencing issues with Postfix not accepting mail on specific ports, check the master configuration file:
bashsudo nano /etc/postfix/master.cf
Ensure these lines are uncommented (not preceded by #):
textsubmission inet n - y - - smtpd -o smtpd_sasl_auth_enable=yes -o smtpd_tls_security_level=may
smtps inet n - y - - smtpd -o smtpd_sasl_auth_enable=yes -o smtpd_tls_security_level=may -o smtpd_tls_wrappermode=yes
Then restart Postfix:
bashsudo systemctl restart postfix
Firewall and Fail2Ban Integration Problems
Fail2Ban integration with firewalld sometimes results in “already banned” log entries while IPs continue attempting connections. This occurs because established connections bypass firewall rules.
Solution: Update the Fail2Ban configuration file:
bashsudo nano /etc/fail2ban/jail.d/00-firewalld.conf
Change the default settings to:
textbanaction = firewallcmd-ipset
banaction_allports = firewallcmd-ipset
Restart Fail2Ban:
bashsudo systemctl restart fail2ban
Verify that rules are properly applying:
bashsudo iptables -L INPUT -v -n | grep "banned-ip-address"
PHP Version Detection and FPM Issues
Some administrators report that multiple installed PHP versions aren’t visible in Virtualmin, or domain PHP versions can’t be changed.
Solution: Virtualmin must detect and index all installed PHP versions. After installing additional PHP versions, run:
bashsudo virtualmin config-system --include PHP
This forces Virtualmin to rescan and register all available PHP versions. You can verify detection by running:
bashphp -v
update-alternatives --list php
If you need to switch a domain to a specific PHP version that’s not appearing in Virtualmin, ensure that PHP version is installed with FPM support. Check available versions:
bashapt search "php.*-fpm"
Advanced Configuration and Optimization
Proper Virtual Memory Configuration
Systems with limited RAM should have adequate swap space configured before installation. During Virtualmin installation, you can create swap space, but if you need to adjust it post-installation:
bashsudo dd if=/dev/zero of=/swapfile bs=1024 count=2097152
sudo chmod 600 /swapfile
sudo mkswap /swapfile
echo '/swapfile none swap sw 0 0' >> /etc/fstab
sudo swapon -a
To verify swap space:
bashfree -m
Secure Webmin and Virtualmin Access
By default, Virtualmin listens on port 10000. This port is heavily targeted by brute-force attacks. Change it to a non-standard port:
- Log into Virtualmin at
https://your-ip:10000 - Navigate to Webmin > Webmin Configuration > Ports and Addresses
- Change port 10000 to a unique port (example: 15443)
- Open this new port in your firewall and close port 10000
System Configuration Verification
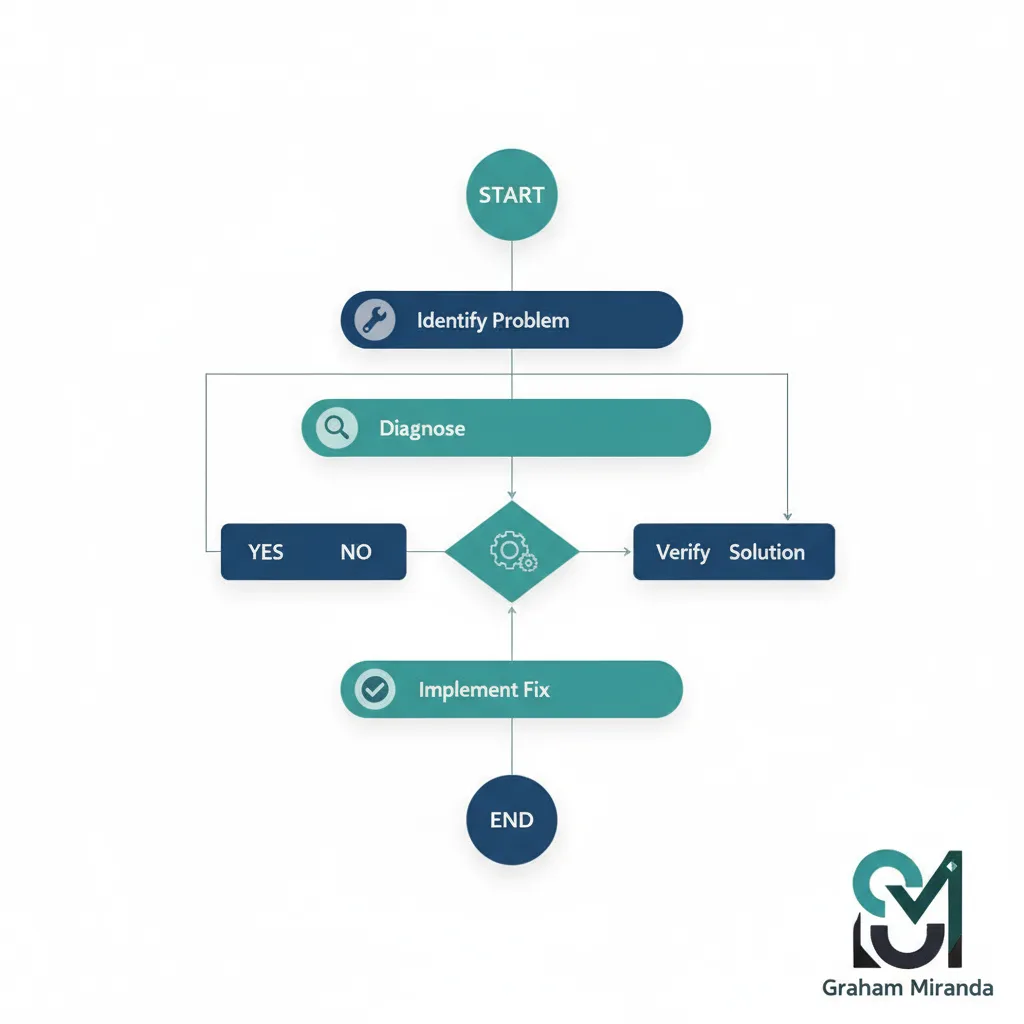
After completing installation and addressing any errors, run a comprehensive configuration check:
- Log into Virtualmin
- Click System Settings > Re-Check Configuration
- Address any remaining warnings systematically
Critical components that should show green checkmarks:
- Apache Web Server
- MariaDB Database Server
- Postfix Mail Server
- BIND DNS Server
- Webmin and Virtualmin Services
- Disk quotas
- Mail aliases
Conclusion
The November 2025 iteration of Virtualmin on Debian 12 presents a stable and powerful platform for hosting management, though the installation and post-installation configuration require careful attention to detail. The errors discussed in this guide—DNS resolution conflicts, Apache port duplications, database connection failures, SSL certificate generation issues, Postfix configuration problems, and firewall integration challenges—represent the most common obstacles reported by the Virtualmin community. By systematically addressing each potential failure point and following the tested solutions provided in this guide, you can establish a robust Virtualmin infrastructure capable of hosting multiple domains with reliable email, DNS, and database services. Always maintain current backups, document your configuration choices, and regularly monitor system logs to identify emerging issues before they impact your hosted domains.